
Shopify Virtual Try-On: Add AI Photo Try-On to Product Pages
 TryOnAnytime
Add AI virtual try-on to Shopify product pages with a script embed—no Shopify Billing. Shoppers upload a photo, see the garment on themselves, then buy with more confidence.
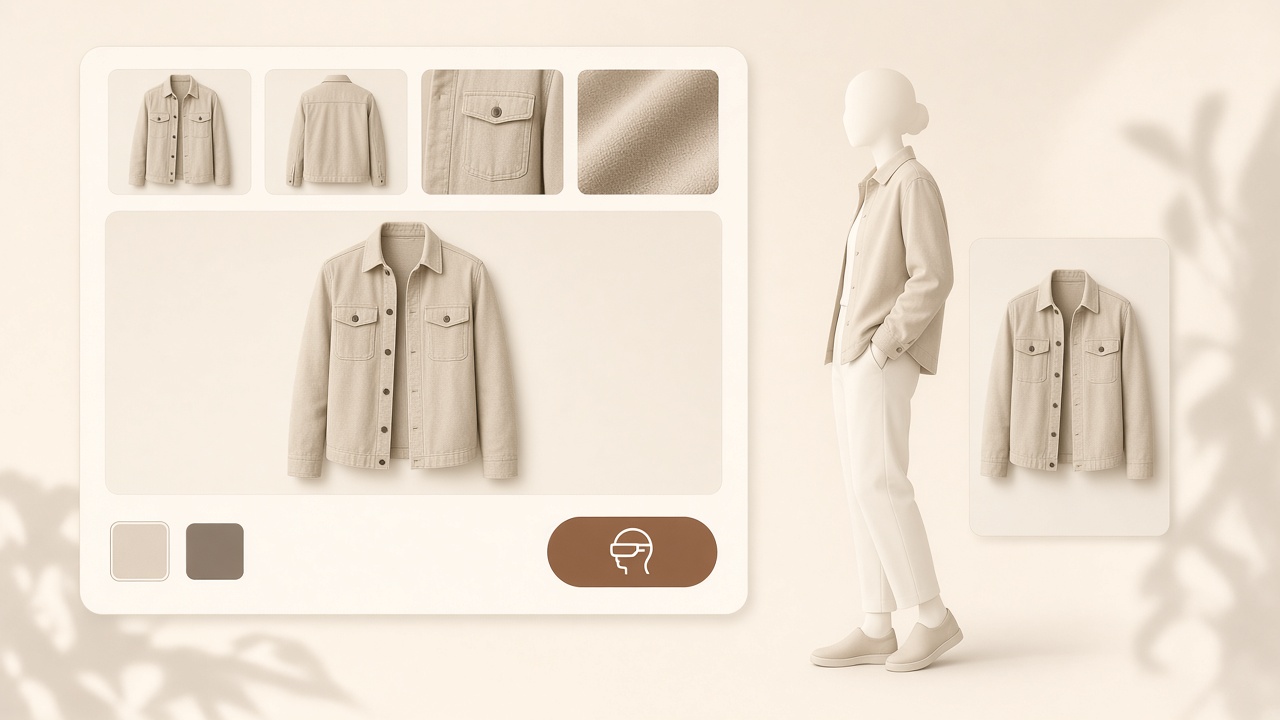
Shopify virtual try-on has two honest paths: a script you paste into your theme today, and a Theme App Extension scaffold you can install as a Partner app. Neither is on the Shopify App Store, and neither touches Shopify Billing.
What it does on a product page
A shopper lands on a product template, taps Try on, uploads one full-body photo, and gets a still of that garment on themselves. Then they keep scrolling, pick a size from your chart, and check out on your store. The widget renders a preview; it never touches payment, orders, or your theme layout.
It is not an AR mirror that overlays a cutout while you move, and not a size predictor.
Honest status before you plan a launch
- Embed script: works today on Online Store 2.0 themes. Paste it in a Custom Liquid block.
- Theme App Extension: a Partner-ready scaffold ships in this repo under
packages/shopify-app, with a Try on app block for merchants who prefer a block to a snippet. - Shopify App Store: not listed. Do not tell customers to search there.
- Billing: credits are purchased on tryonanytime.com. We do not use the Shopify Billing API and never charge your Shopify account.
Full walkthrough with the exact snippet: /embed/shopify. The short version is in merchant embed.
Add it in four steps
- Create a publishable key. Generate a
pk_…key and allowlist your storefront domain — the*.myshopify.comaddress plus any custom domain. - Top up credits on tryonanytime.com, as a separate line item in your own bookkeeping.
- Paste the snippet. Theme editor → product template → Custom Liquid block, or the scaffold's app block. Keep
data-tryon-garmenton the image your PDP already shows — a mismatched crop confuses shoppers. - Preview and publish. Open a live product page, confirm the chip sits on the product media, finish the allowlist, publish.
What shoppers see
- A Try on chip on a corner of the product media by default; the app block can place it inline.
- An upload step with a short guide: front-facing, arms slightly off the torso, even light.
- One generated still in a few seconds, downloadable or ignorable.
- No shopper account needed, and credits belong to your merchant account.
Keep the size chart beside it
Never market the preview as a size answer. A photo carries no scale reference, so try-on cannot honestly call a shopper a medium in your block. Put the button beside the size guide and say plainly that one shows the look, the other gives measurements — see size recommendation vs virtual try-on.
Embed or API?
- One storefront, images already on your CDN → embed.
- Headless storefront, mobile app, batch catalog jobs → HTTP API on the same credit ledger: virtual try-on API for stores.
- Agent or internal tooling → MCP tools, same credits.
What to expect on returns
Try-on helps with the "it looked different on the model" return: print scale, colour, length, silhouette. It does not fix wrong-size orders and cannot promise a return-rate number for your store. Test one collection first — see reduce returns with virtual try-on.
Quick answers
- Will it slow my theme? No — it loads async and idles until the chip is tapped.
- Do I need a developer? No. A Custom Liquid block is copy and paste.
- Is there an App Store install? Not yet — snippet or scaffold.
Soft CTA: run your own product photos through studio first, so you know what a good result looks like before customers see it.